
These instructions pertain to Mac users only! If you are a Mac user, please follow the steps below to generate the CSR and the PFX. You will first generate the CSR and then generate the PFX.
How to generate the CSR
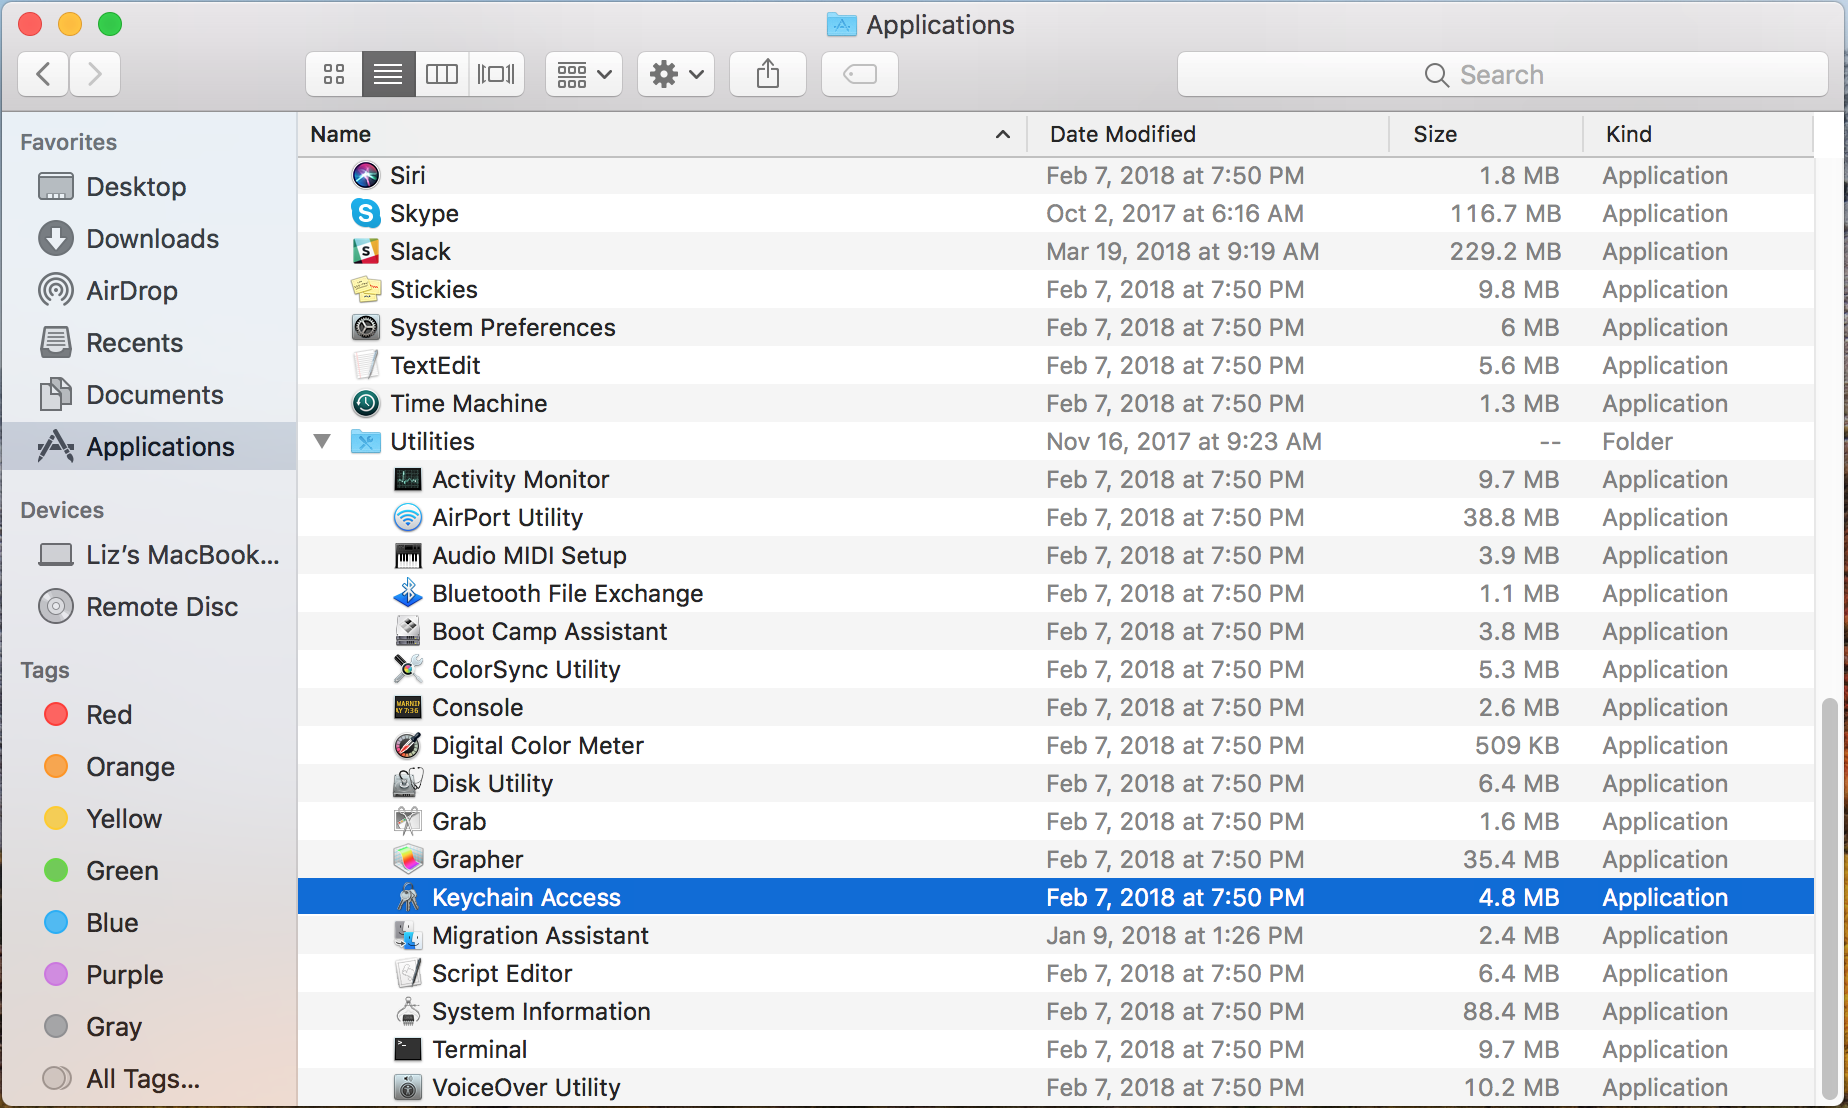
1) Go to Finder, select Applications and click on Keychain Access under Utilities
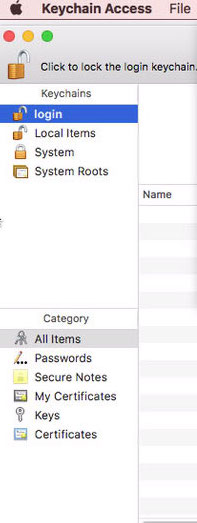
2) Make sure you have the lock icon login selected.
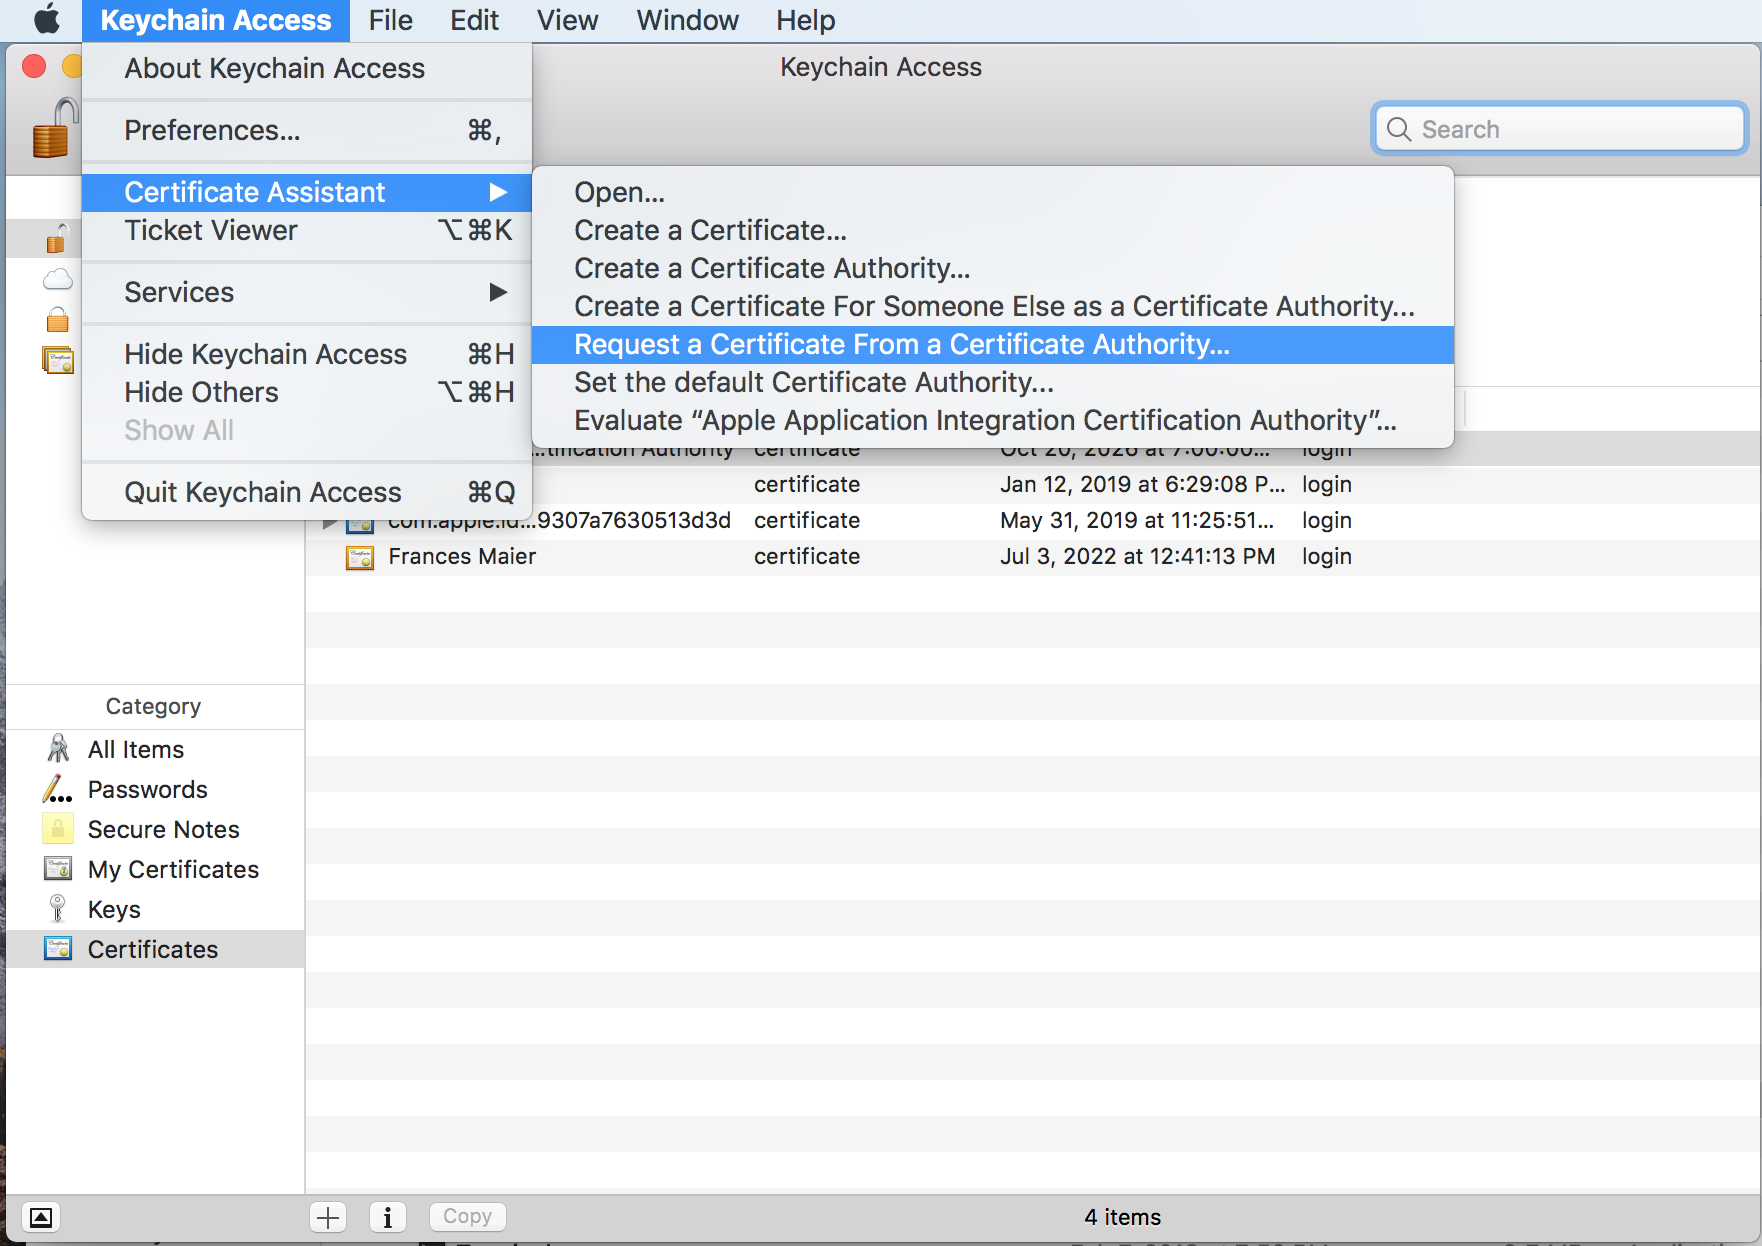
Click Keychain Access at the top, select Certificate Assistant and then select Request a Certificate From a Certificate Authority
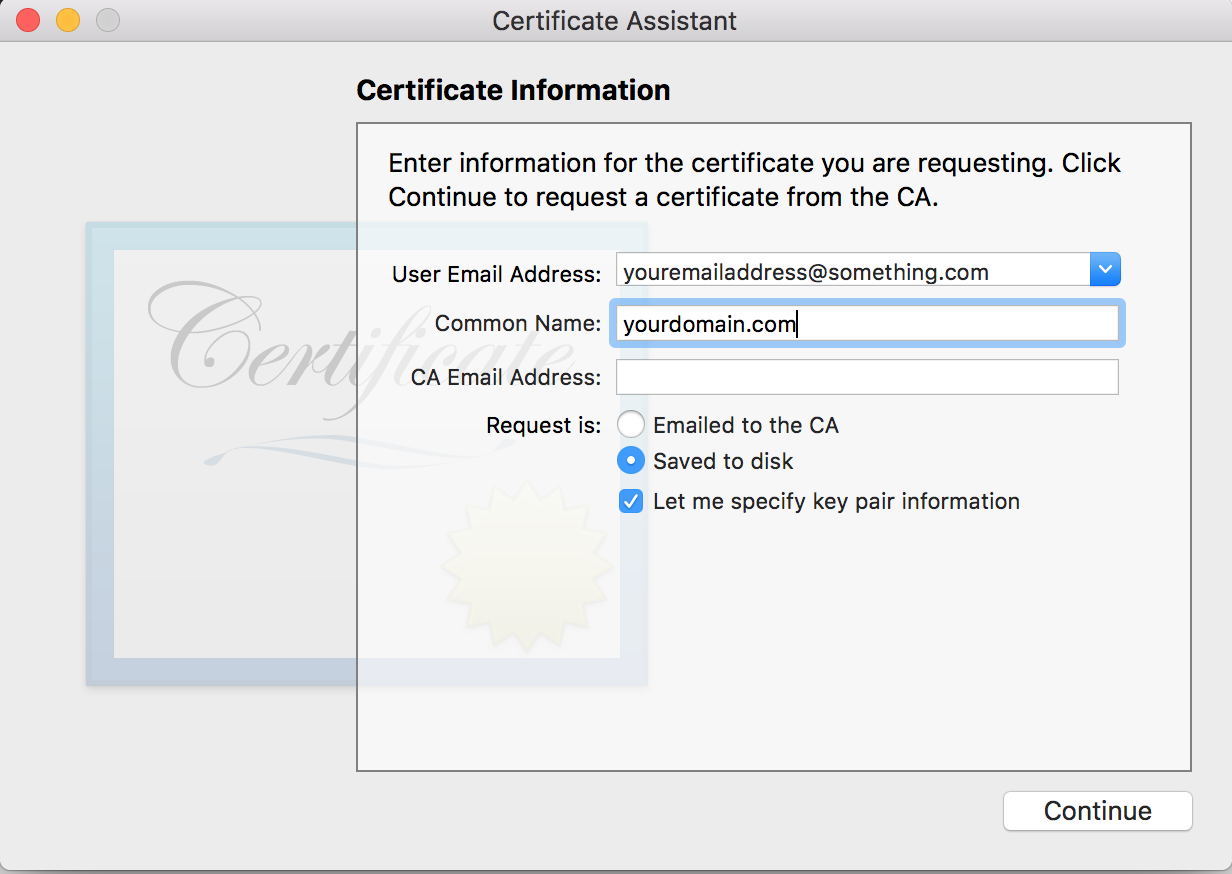
3) Enter your email in the User Email Address field and enter your domain name in the Common Name field, (excluding www). Leave the CA Email Address blank and make sure Saved to disk and Let me specify key pair information are selected under Request is.
Make sure you enter the fields in the correct format per the example below and then click Continue
4) On the next screen, make sure the Key Size is set at 2048 bits and Algorithm is set to RSA.

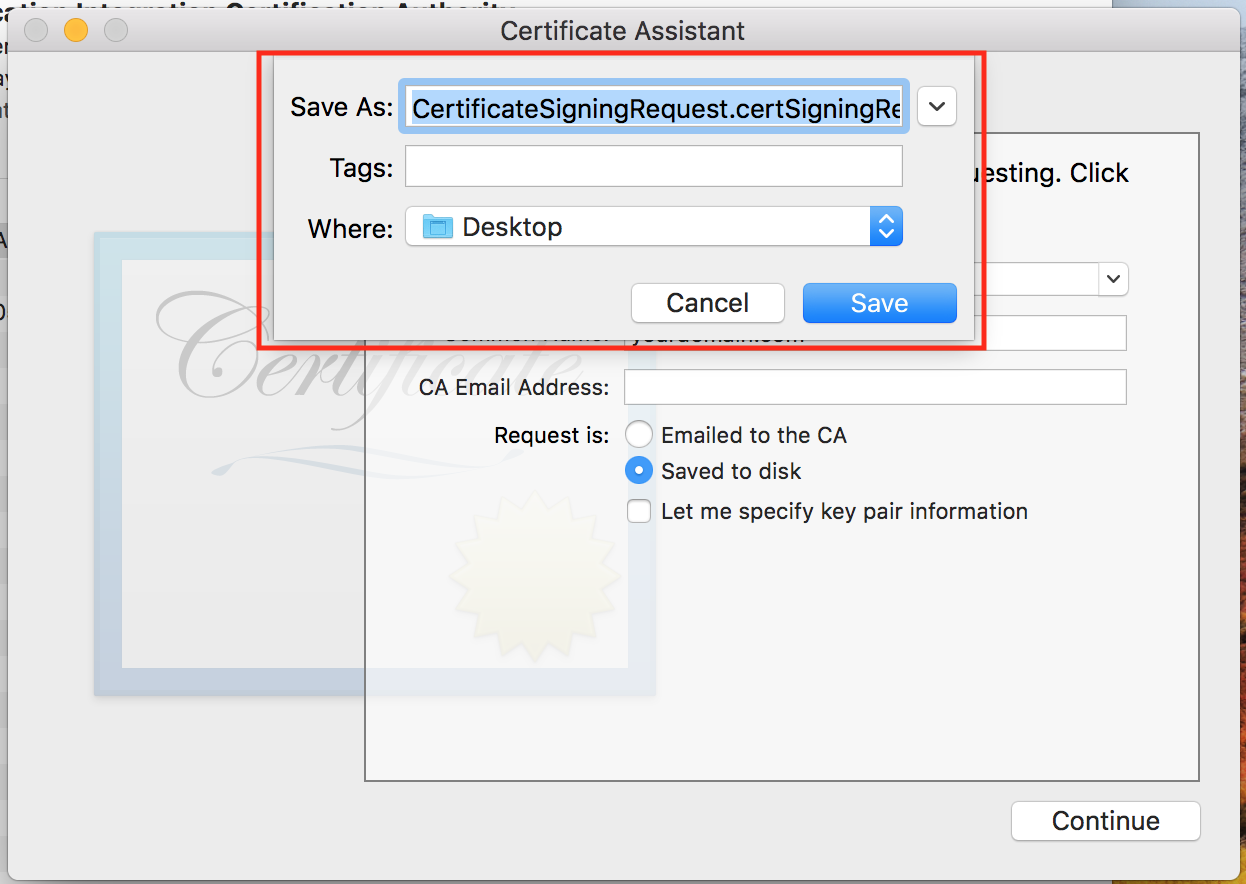
5) Select where you want to save your CSR file (desktop, documents, etc) and then click Save
6) You should see the Conclusion screen. Click Done

6) Now that you've generated and saved your CSR, you'll need to login to the account from which you purchased your SSL Certificate from. If you purchased your SSL Certificate from the same company that you purchased your domain from, then you'll need to login to that account. SSL Certificate setup will almost be identical per company. The examples below were taken from a GoDaddy account.
7) Find the section where your purchased SSL Certificate is located. Click on the Set up option. Below is an example of this section on GoDaddy:

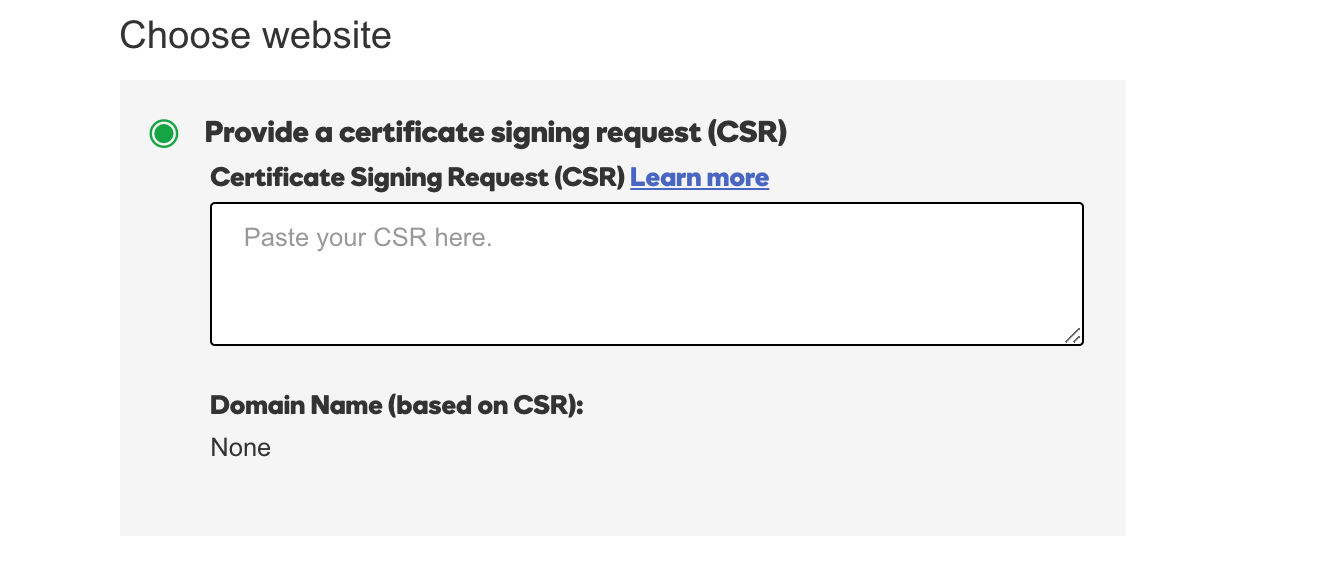
8) You should be directed to a page that looks similar to this where it asks you to paste your CSR in the field.
9) Now, go to your CSR file. Right click on the file, select Open With and then select Other.

This will bring up Finder. Select TextEdit and then click Open.

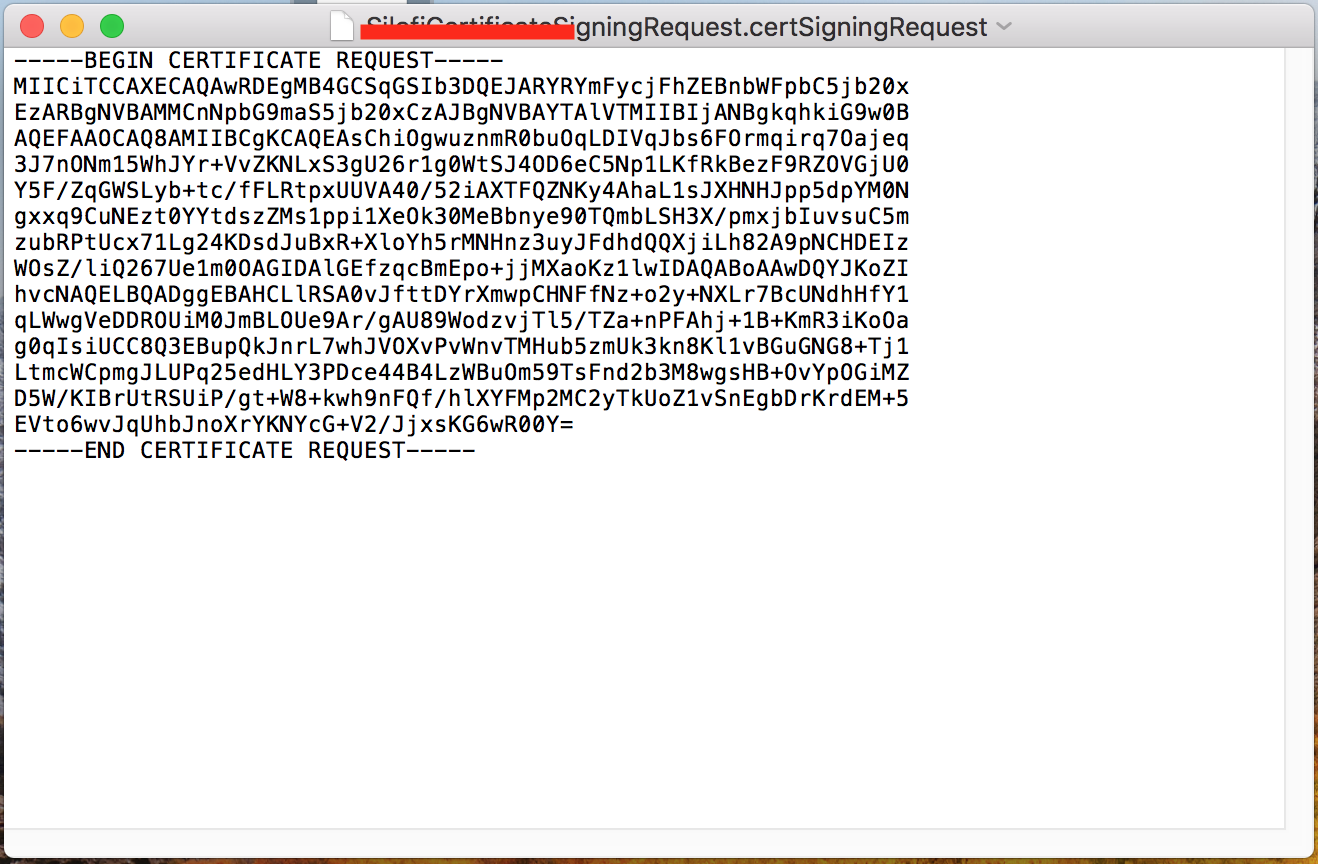
Your CSR file should open up like the example below:
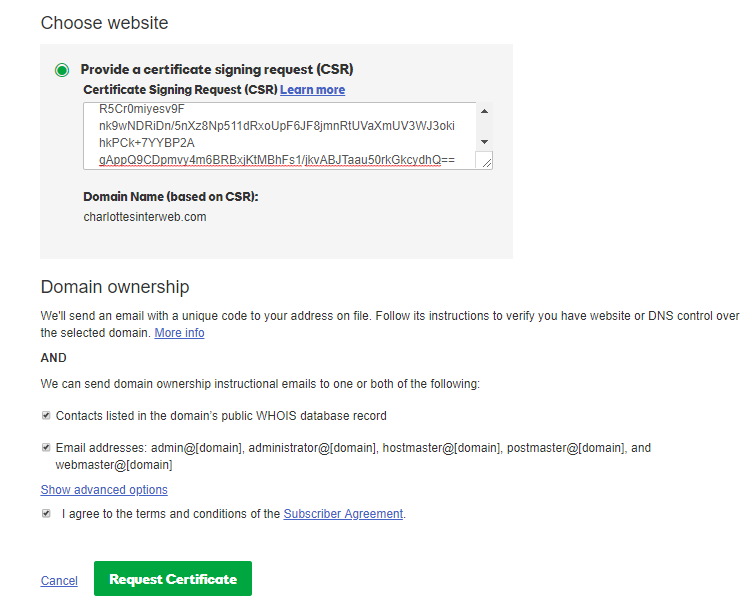
10) Copy and paste the text into the field per the example below. Agree to the terms and conditions and click Request Certificate.
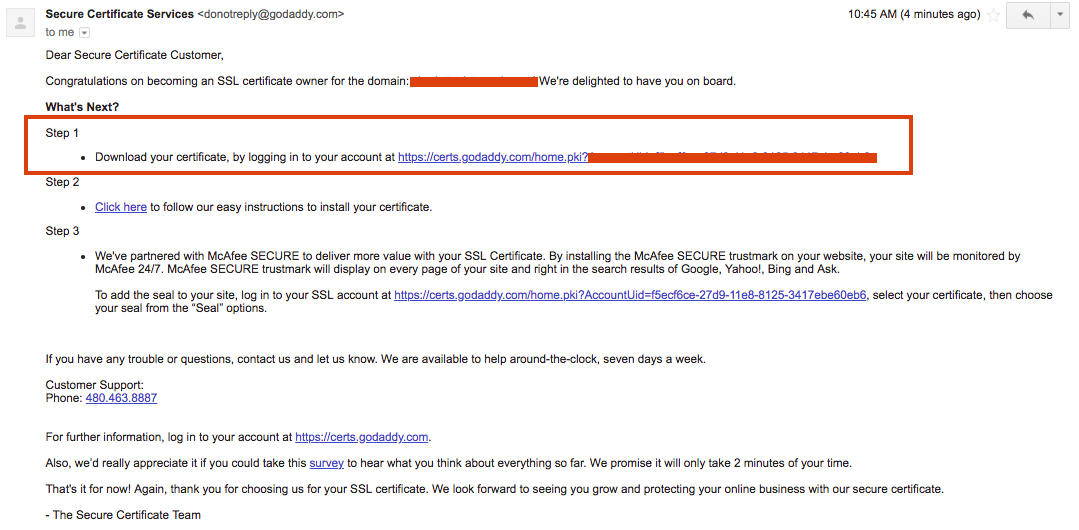
11) After you've submitted your SSL Request, you'll need to wait for the approval email. This can take up to 24 hours, but it typically only takes as little as 10 minutes.
Once you receive the approval email, follow the link in the email to download your SSL Certificate. DO NOT follow any other steps that are provided in the confirmation email; just download your SSL Certificate.
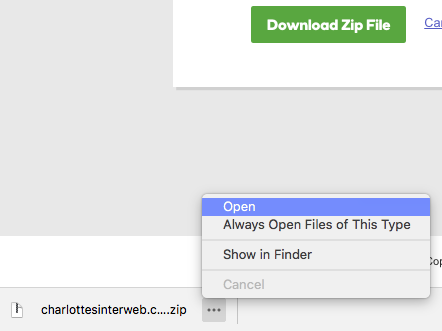
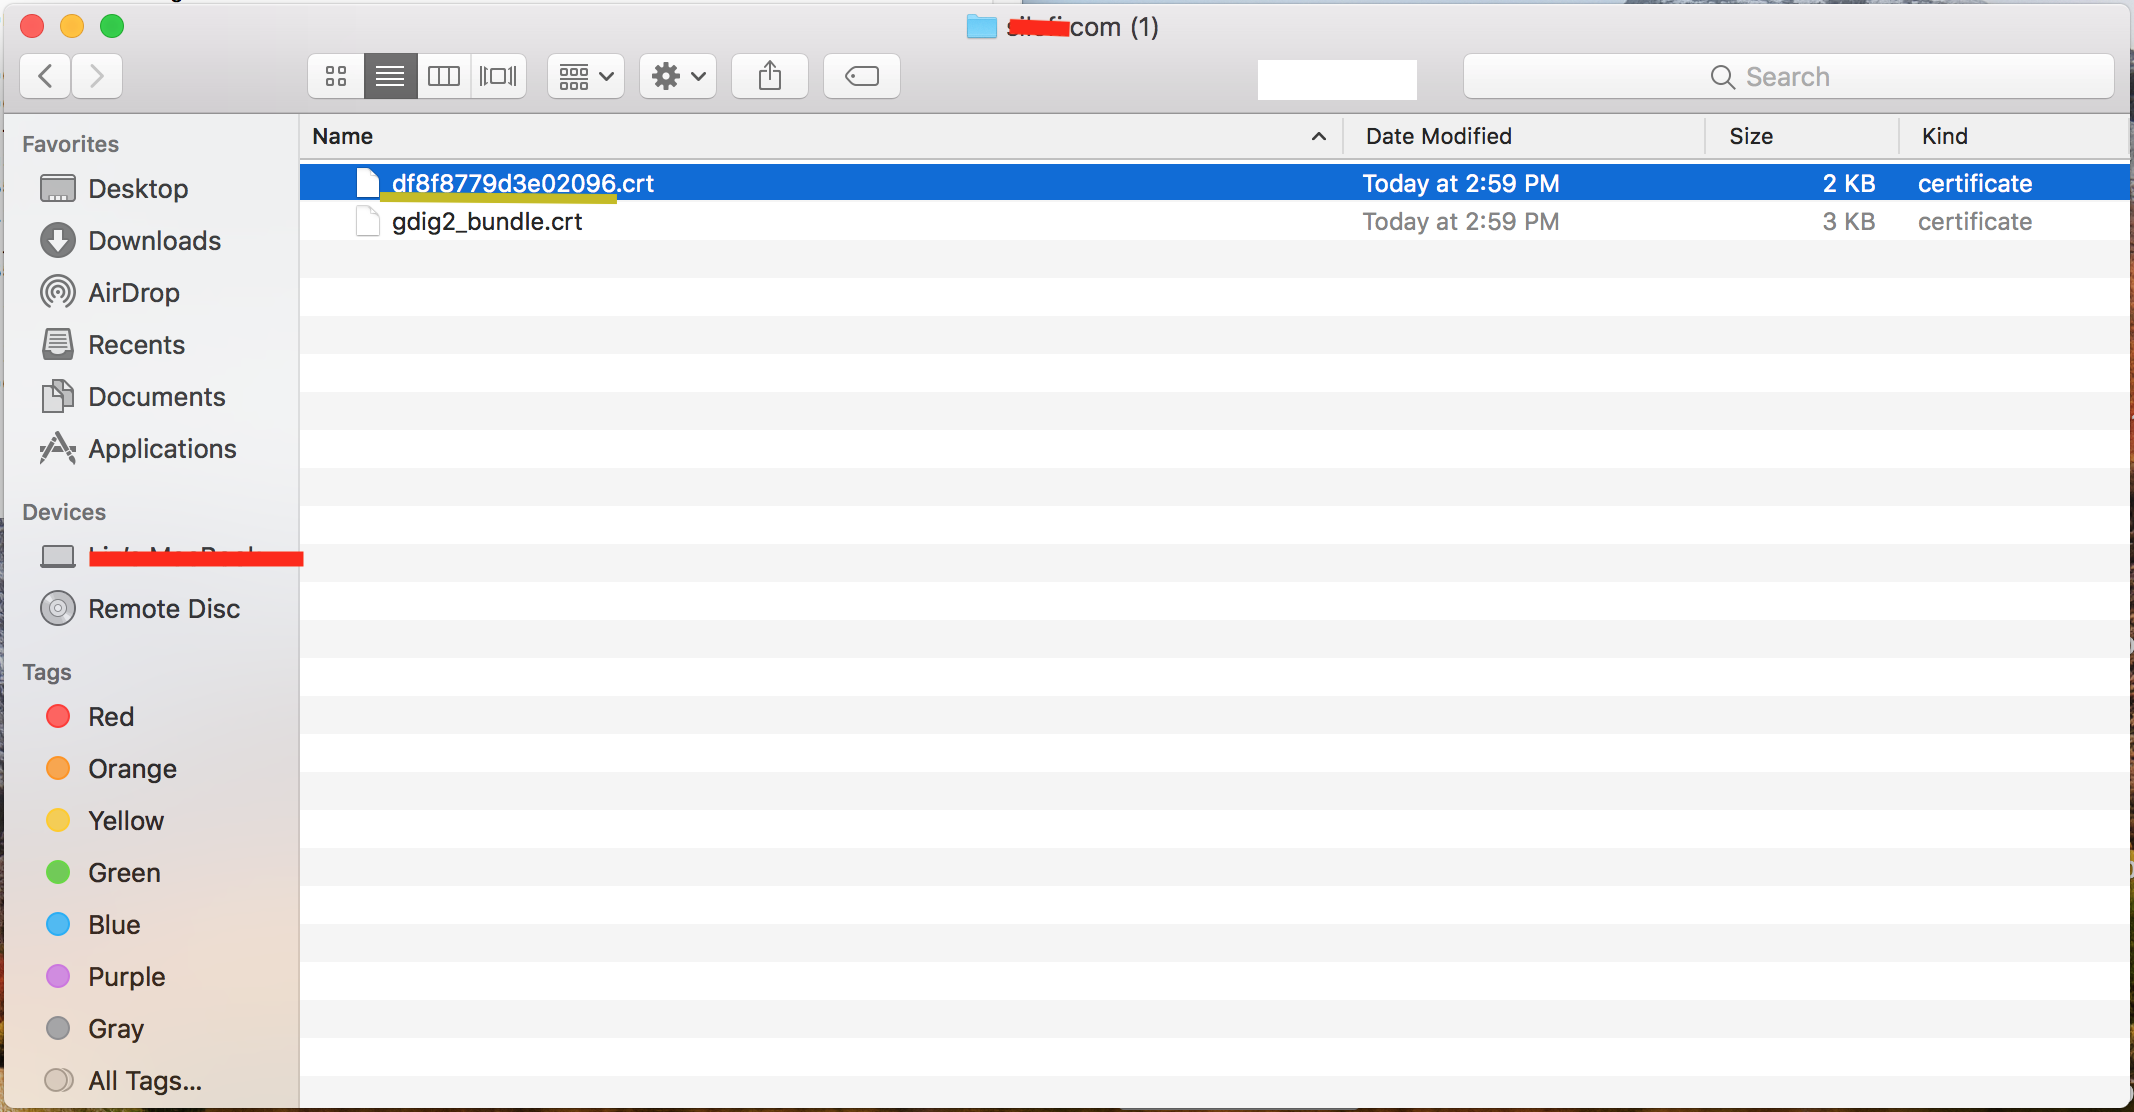
12) When you download your SSL Certificate, it should download as a .crt file, however it may download as a zip file. If it downloads as as zip file, open it - you should see two files in the zip file. Select the first file and drag it to your desktop.

How to generate the P12
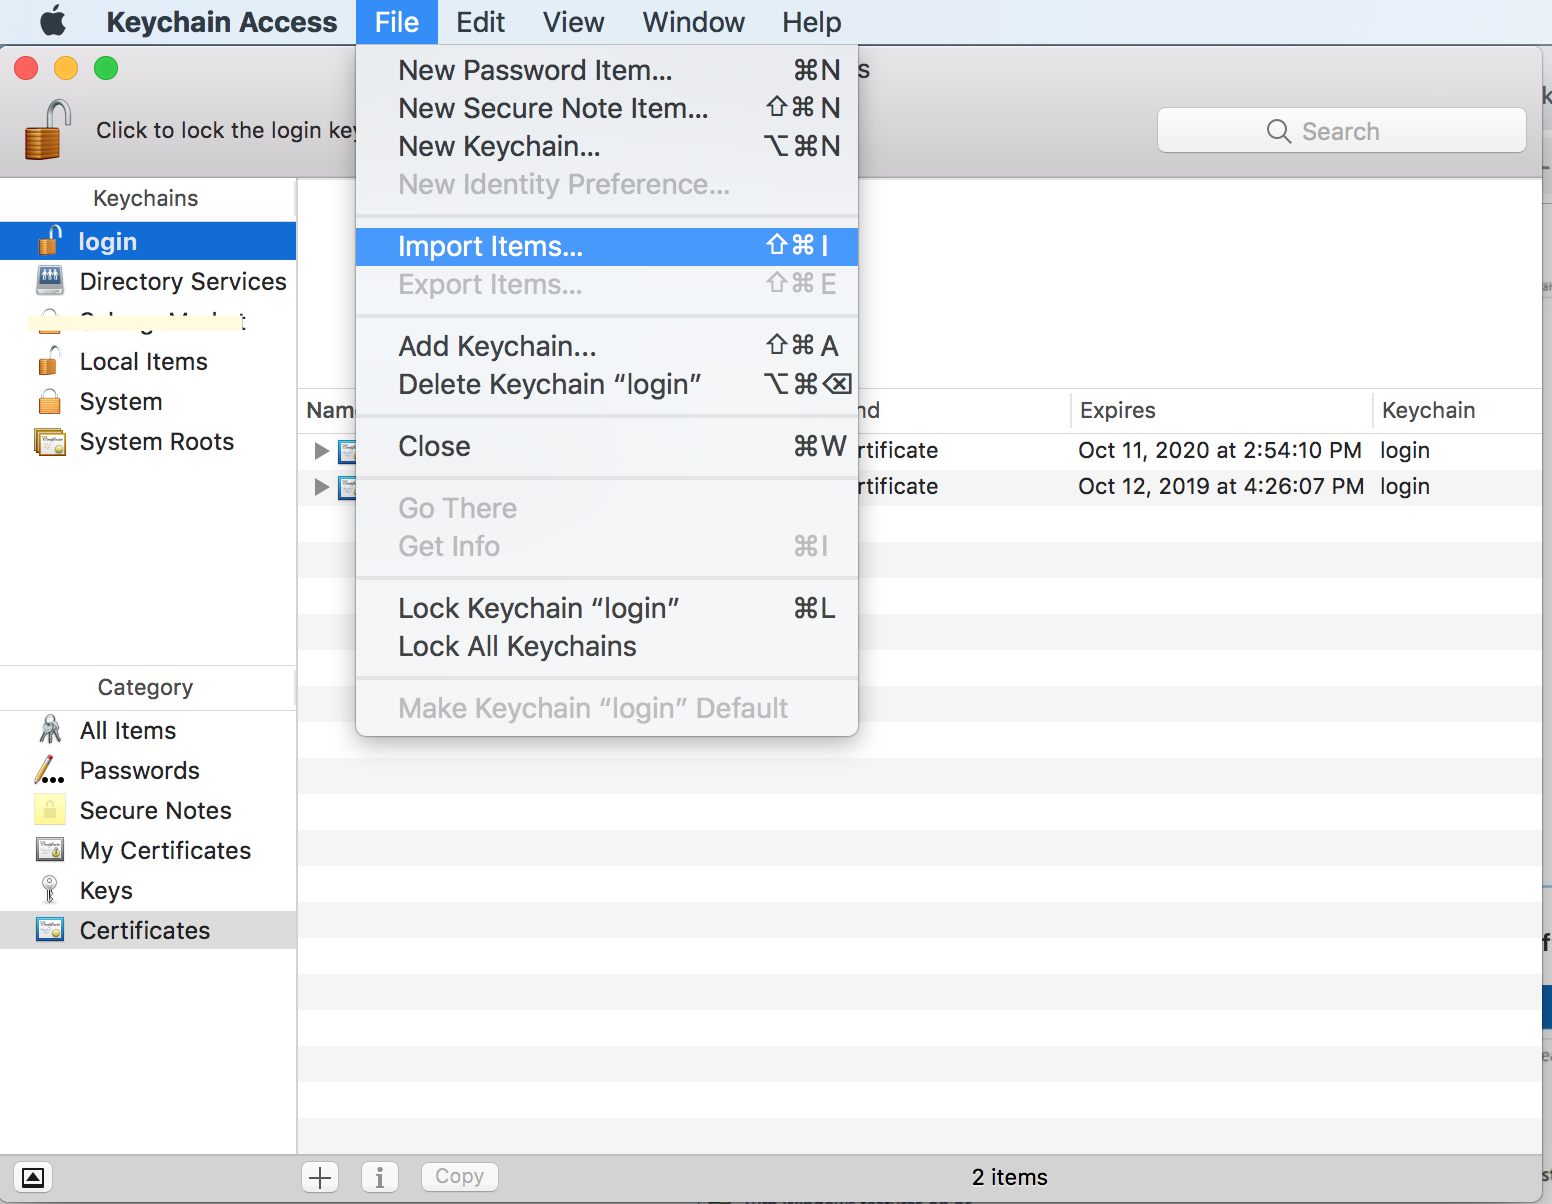
13) From Keychain Access go to File, select Import Items...
14) Find and select the certificate you saved on your desktop in step 12 then click Open
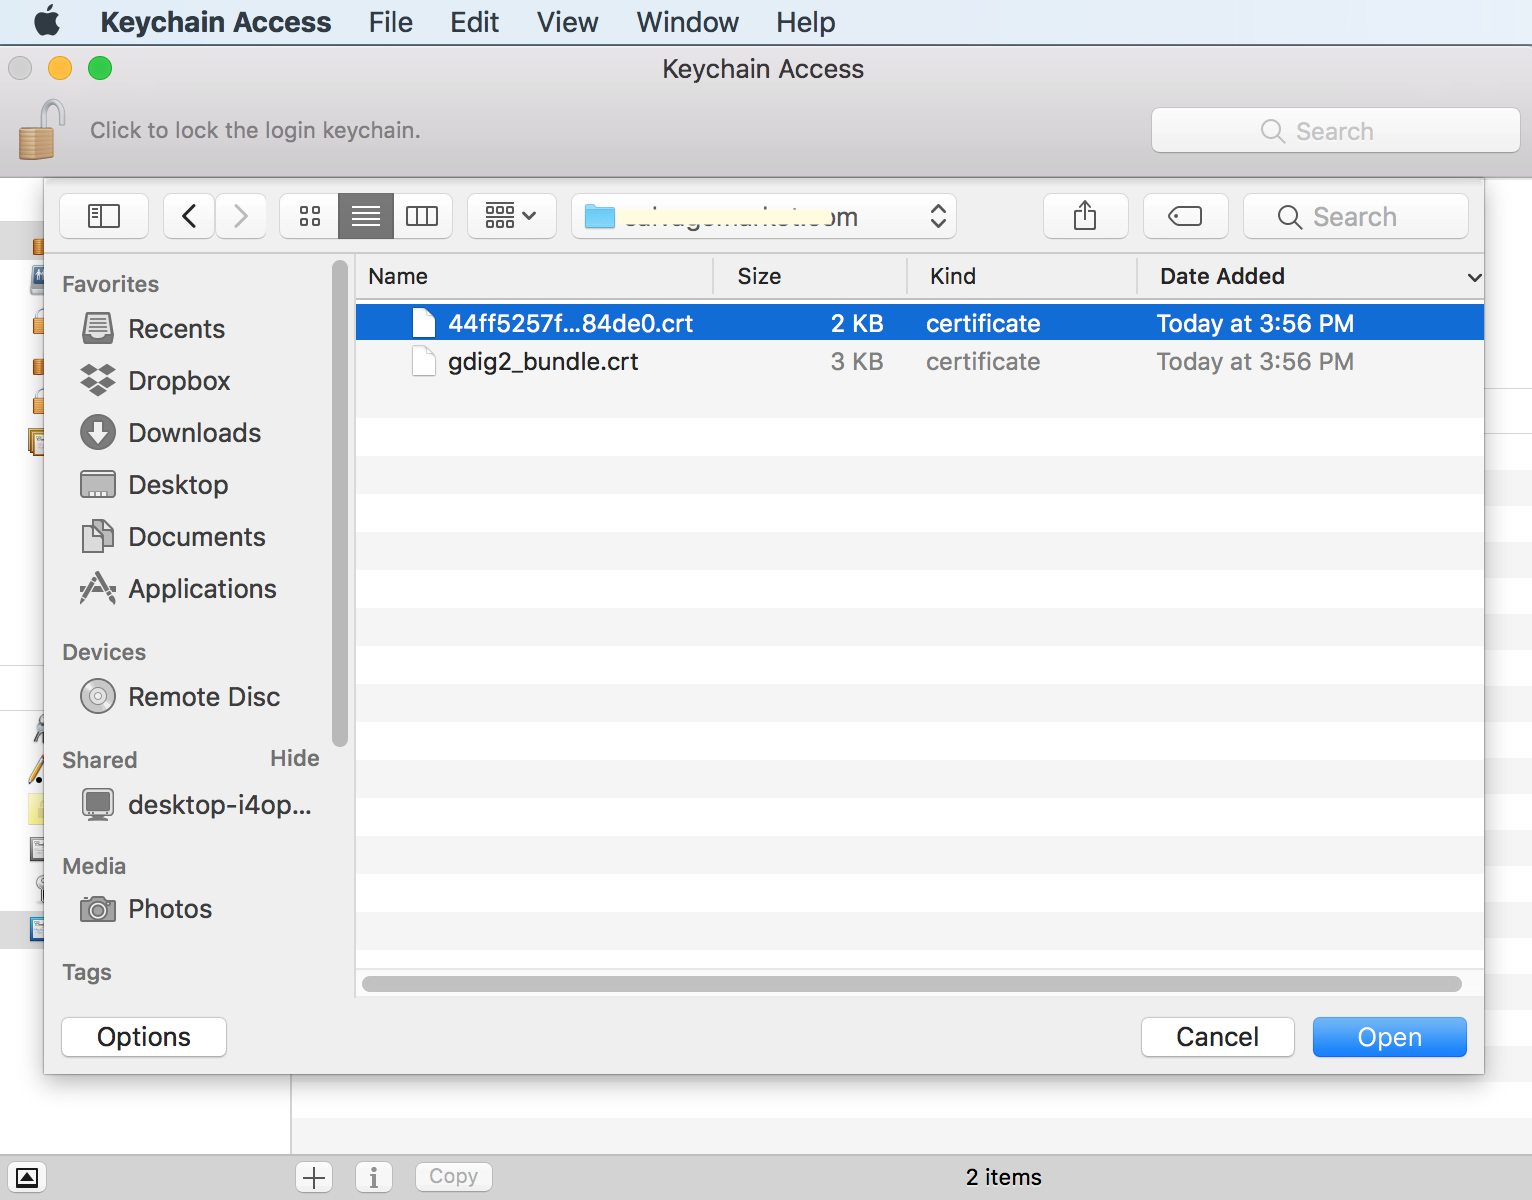
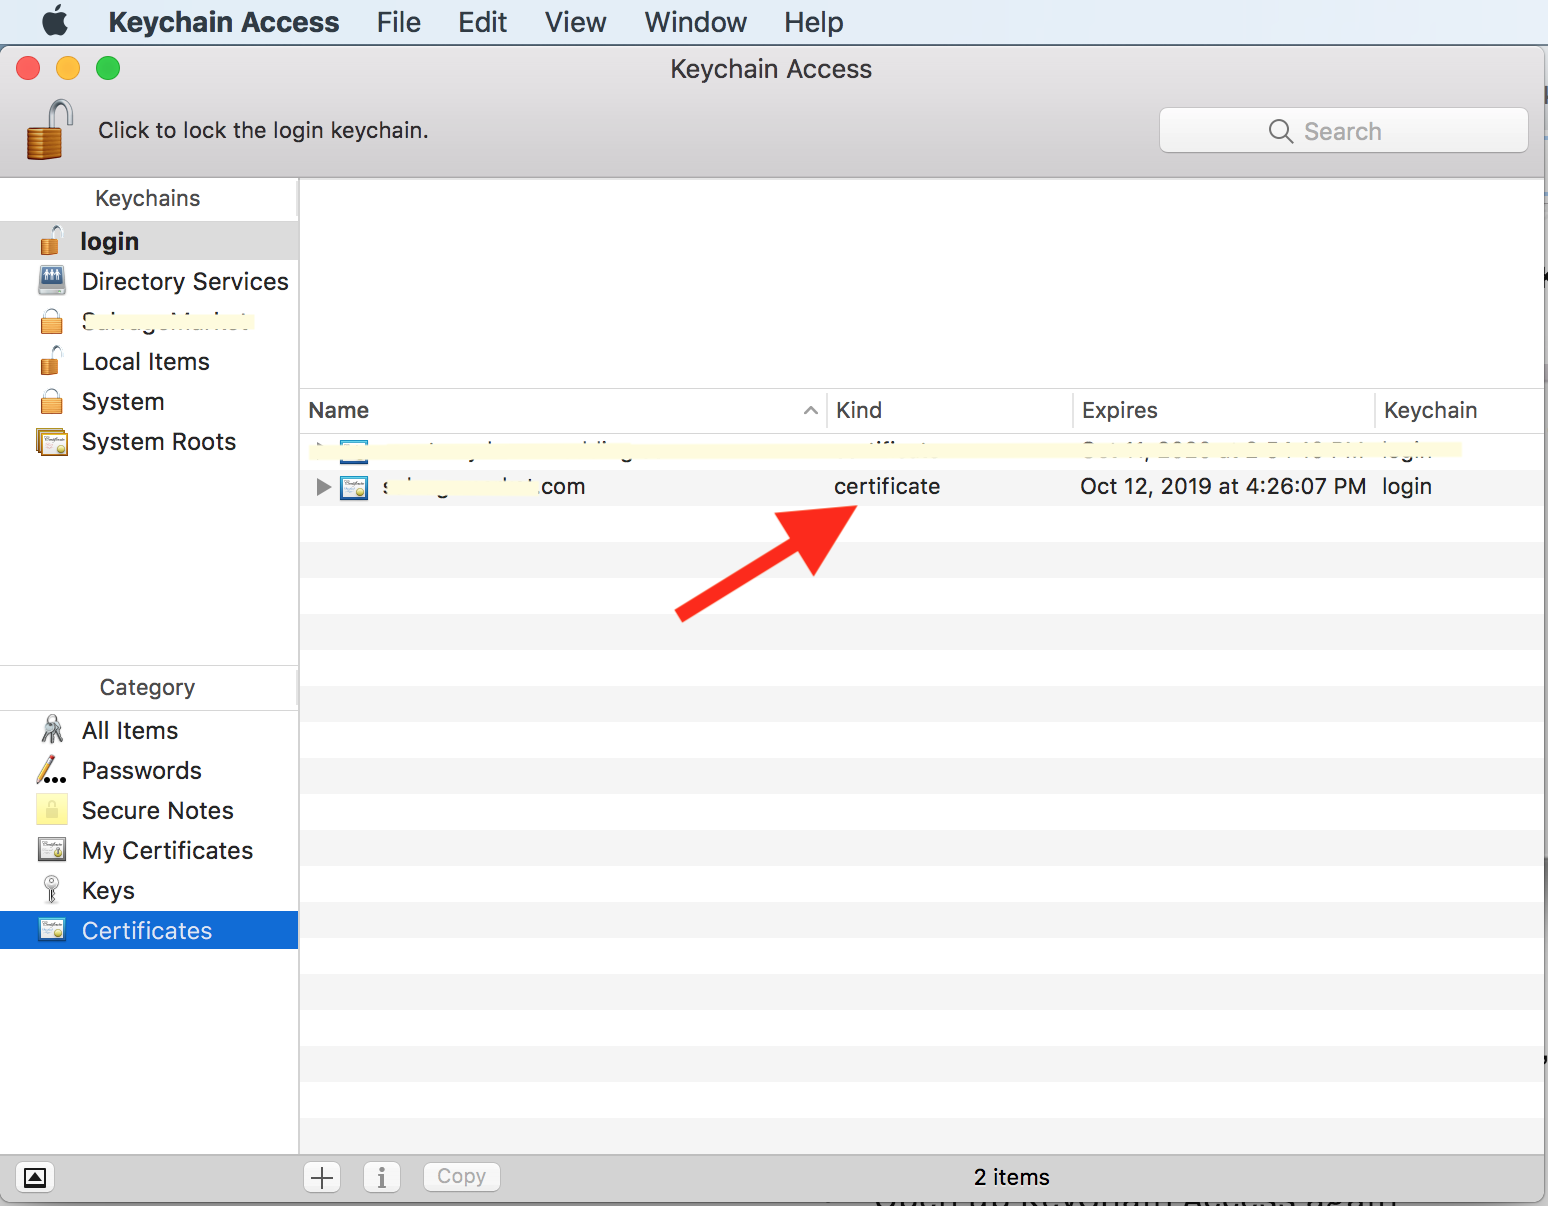
You should see the certificate added to the Certificates section:
15) Select Keys from the menu to the left. You should see a public key and private key under the common name you entered in step 3. Click the down arrow to expand the private key and you should see your certificate attached under private key
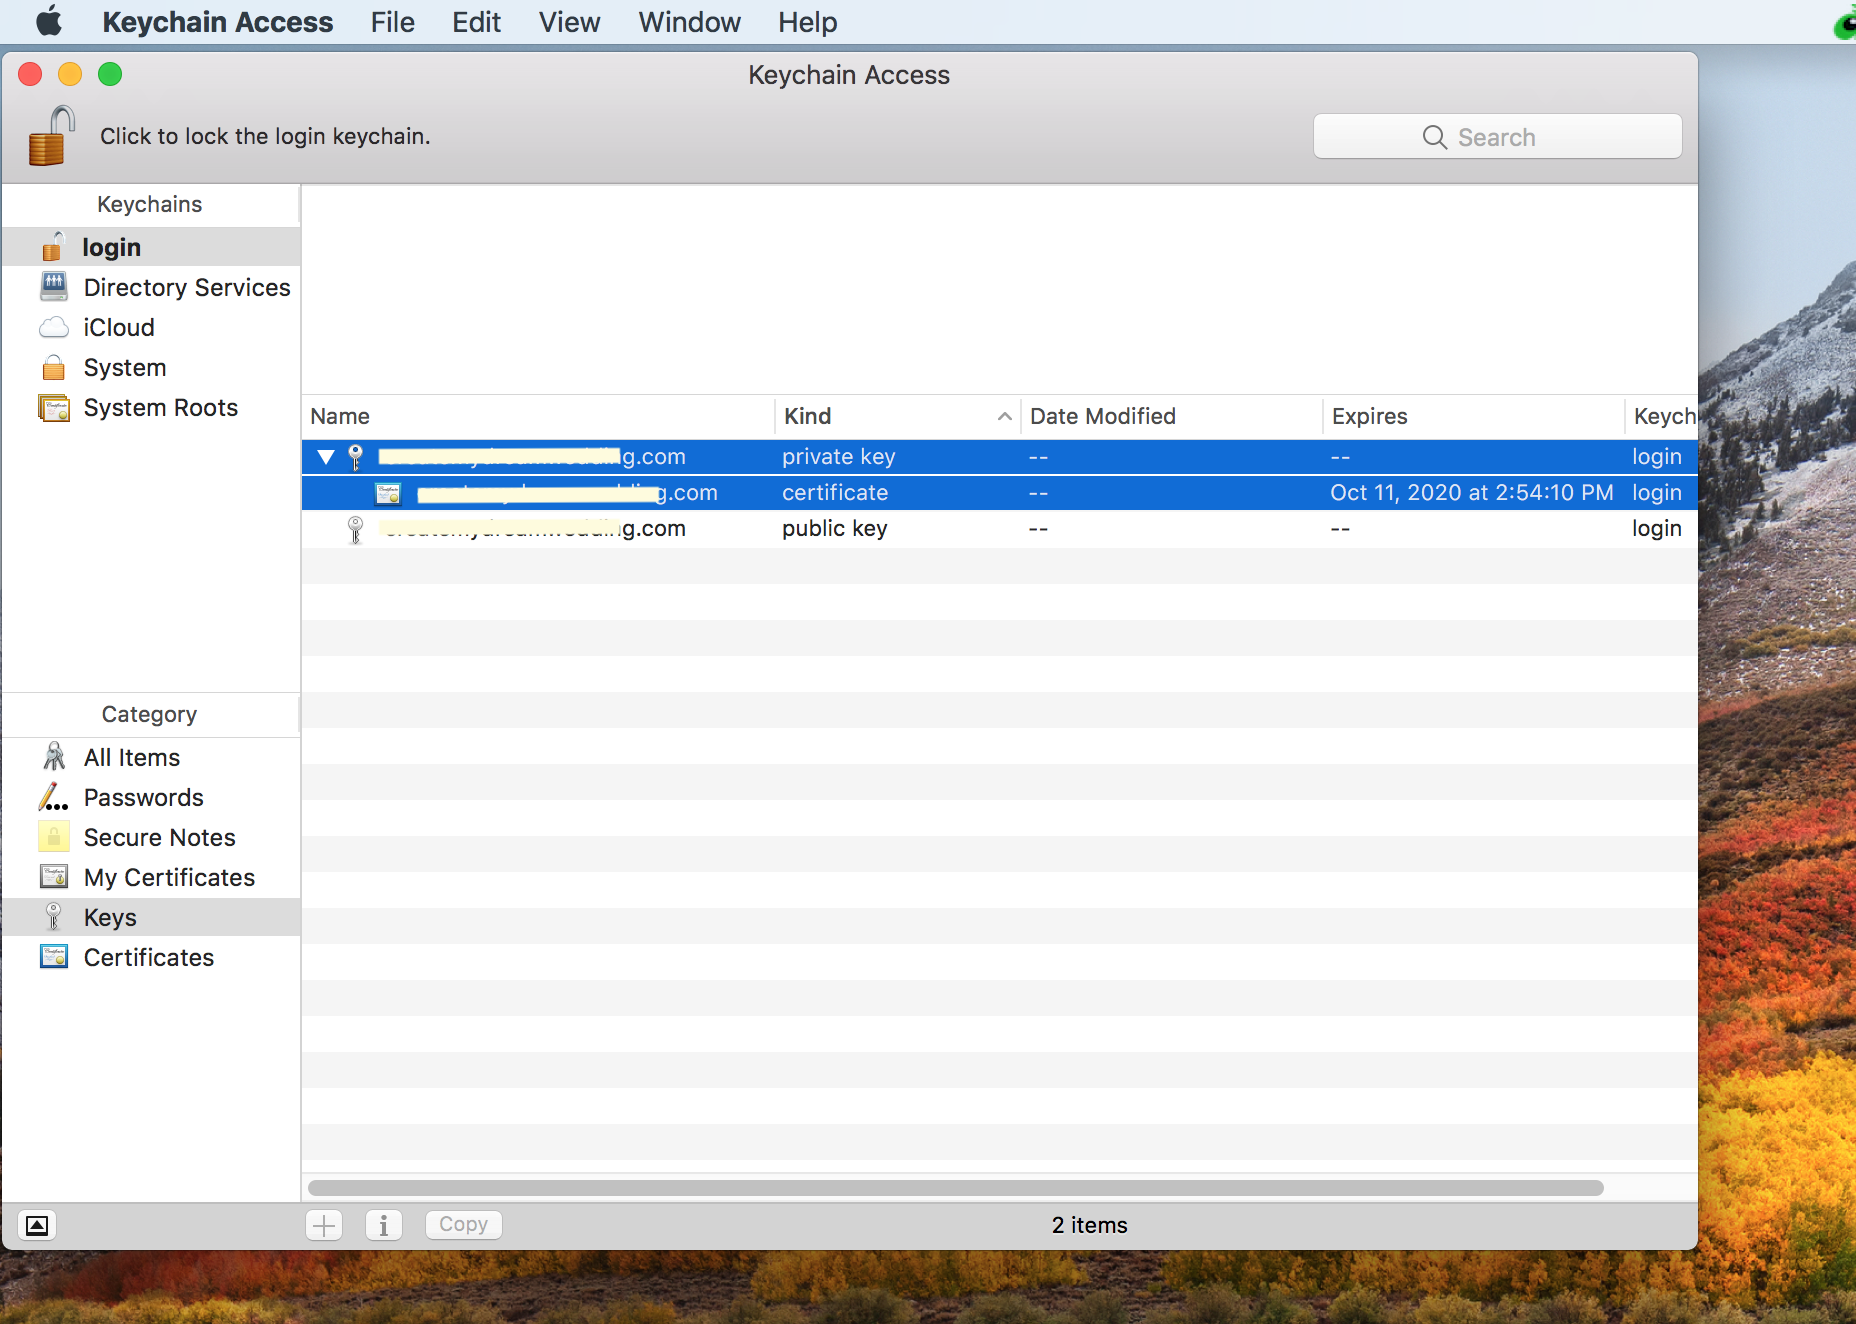
16) Select only the private key and certificate by holding the shift key on your keyboard, then right-click and select Export 2 items...

17) You may be asked for the keychain password twice since you are exporting 2 items. Enter the password you set up for the login keychain.
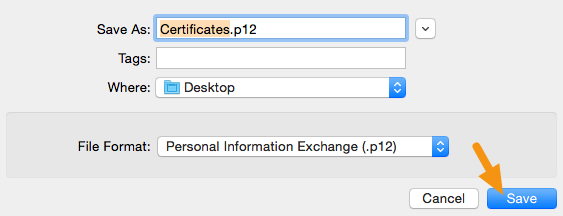
In the next window, name your P12 file, select the location where you want to save it and make sure the File Format is set to Personal Information Exchange (.p12) then click Save
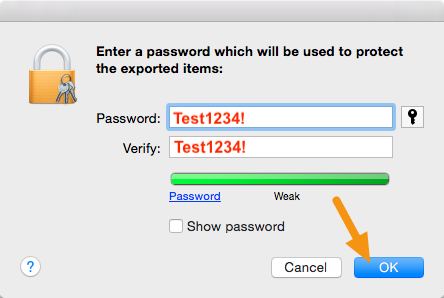
18) You'll then be prompted to set a password. Enter the password Test1234! under Password and Verify, then click OK.
It's VERY important that you enter the password EXACTLY like so: Test1234!
19) The .p12 file will be located wherever you saved it. Make sure you remember where you saved the file as you will need to submit it as part of the final step to the domain connection process.
You have successfully completed generating the CSR and PFX files for the initial SSL Certificate setup! You're ready to move onto the final step in the Domain Connection process. You now need to submit the PFX file to our Support team!
Comments
0 comments
Article is closed for comments.